This is going to be a quick post but I wanted to do a test with some existing 360 drone images taken at Fly Ranch and convert them with Disco Diffusion to see what the end result looked like. This is unlike the last article which explains a process using Blender to create these images. If you haven’t read through it yet check out this link post so you know what the hell I’m talking about.
The idea is to align and stitch the 32 images taken from my Mavic 3 to create a 360 panorama like I usually do for any drone shots I take using PTGui.
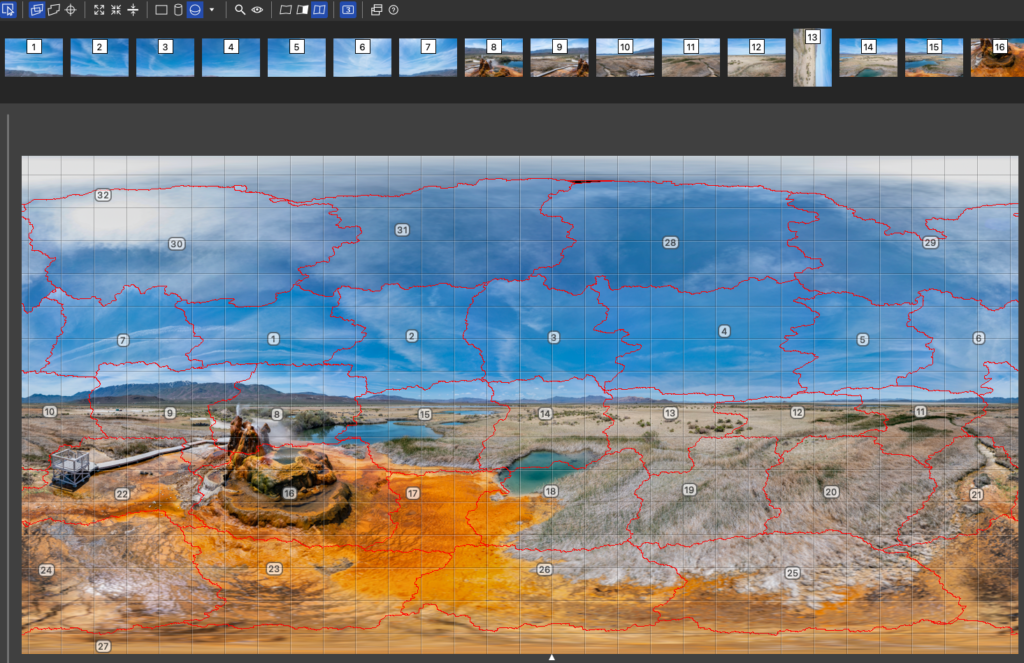
Next I’ll save this as a template in PTGui which saves the location of each aligned image so when I’m doing processing the images in DD I can just use this template to realign the Disco Diffusion versions.
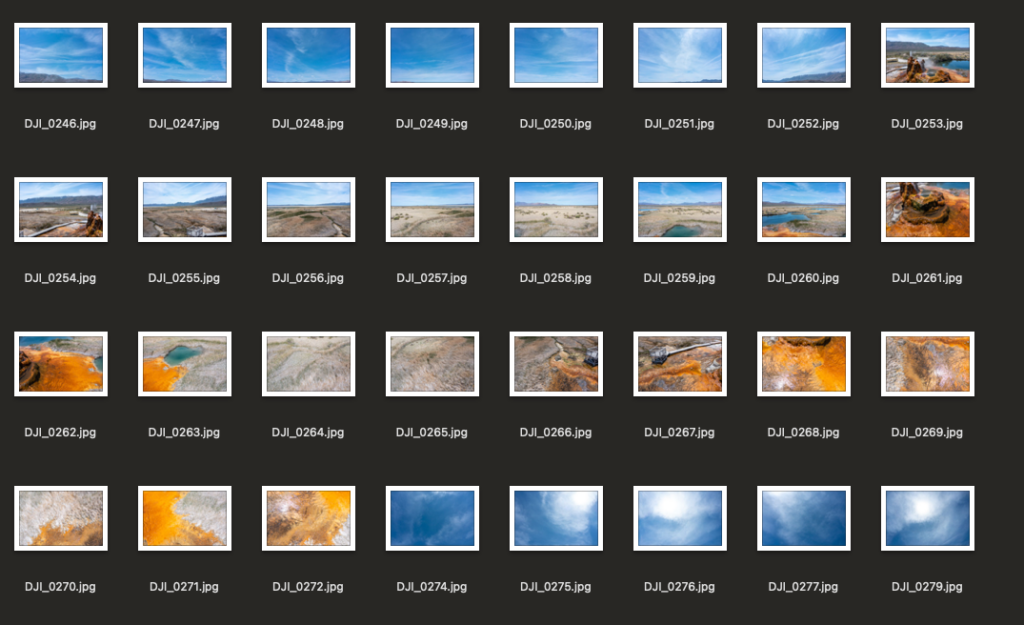
Once I have the proper alignment I then process each image as an init_image in DD with a skip time steps range of 90-110 with my initial iterations set at the default of 250.
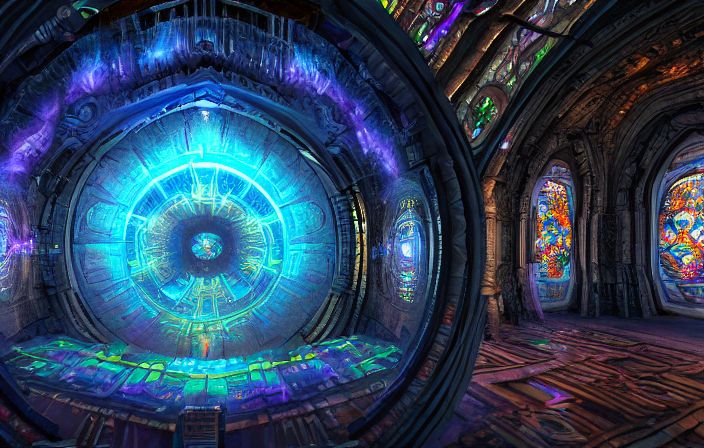
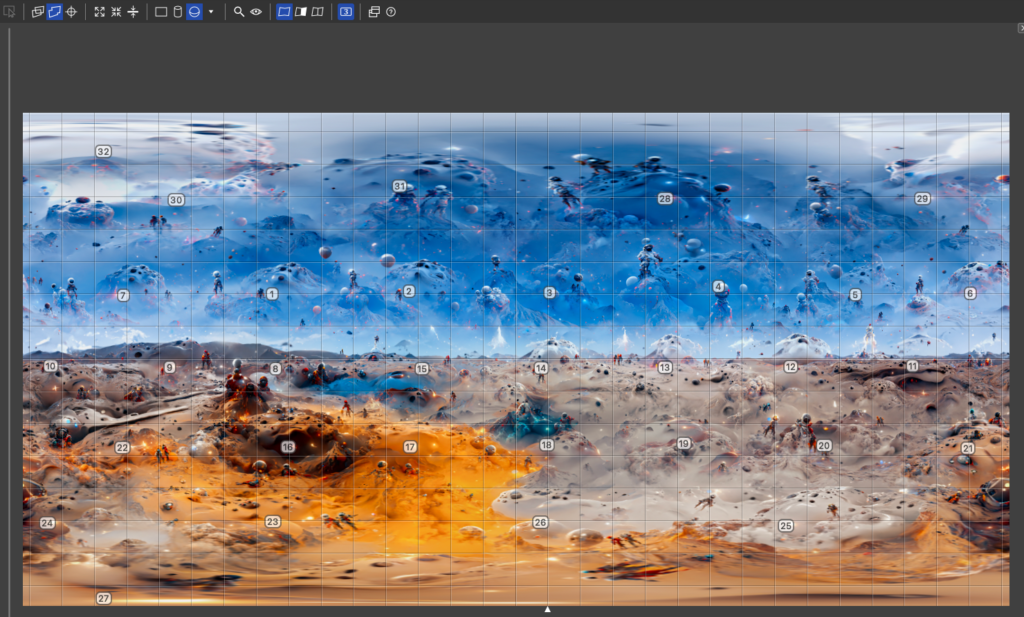
This takes quite a bit of time on my Titan RTX but the end results are worth it and this is what those 32 images look like in PTGui after processing.
The last step is to build a small virtual tour of each image and this time I enabled a split screen mode that you can click on to see a side by side comparison of the original and disco modified one.
You can use the slider below to see the before and after.
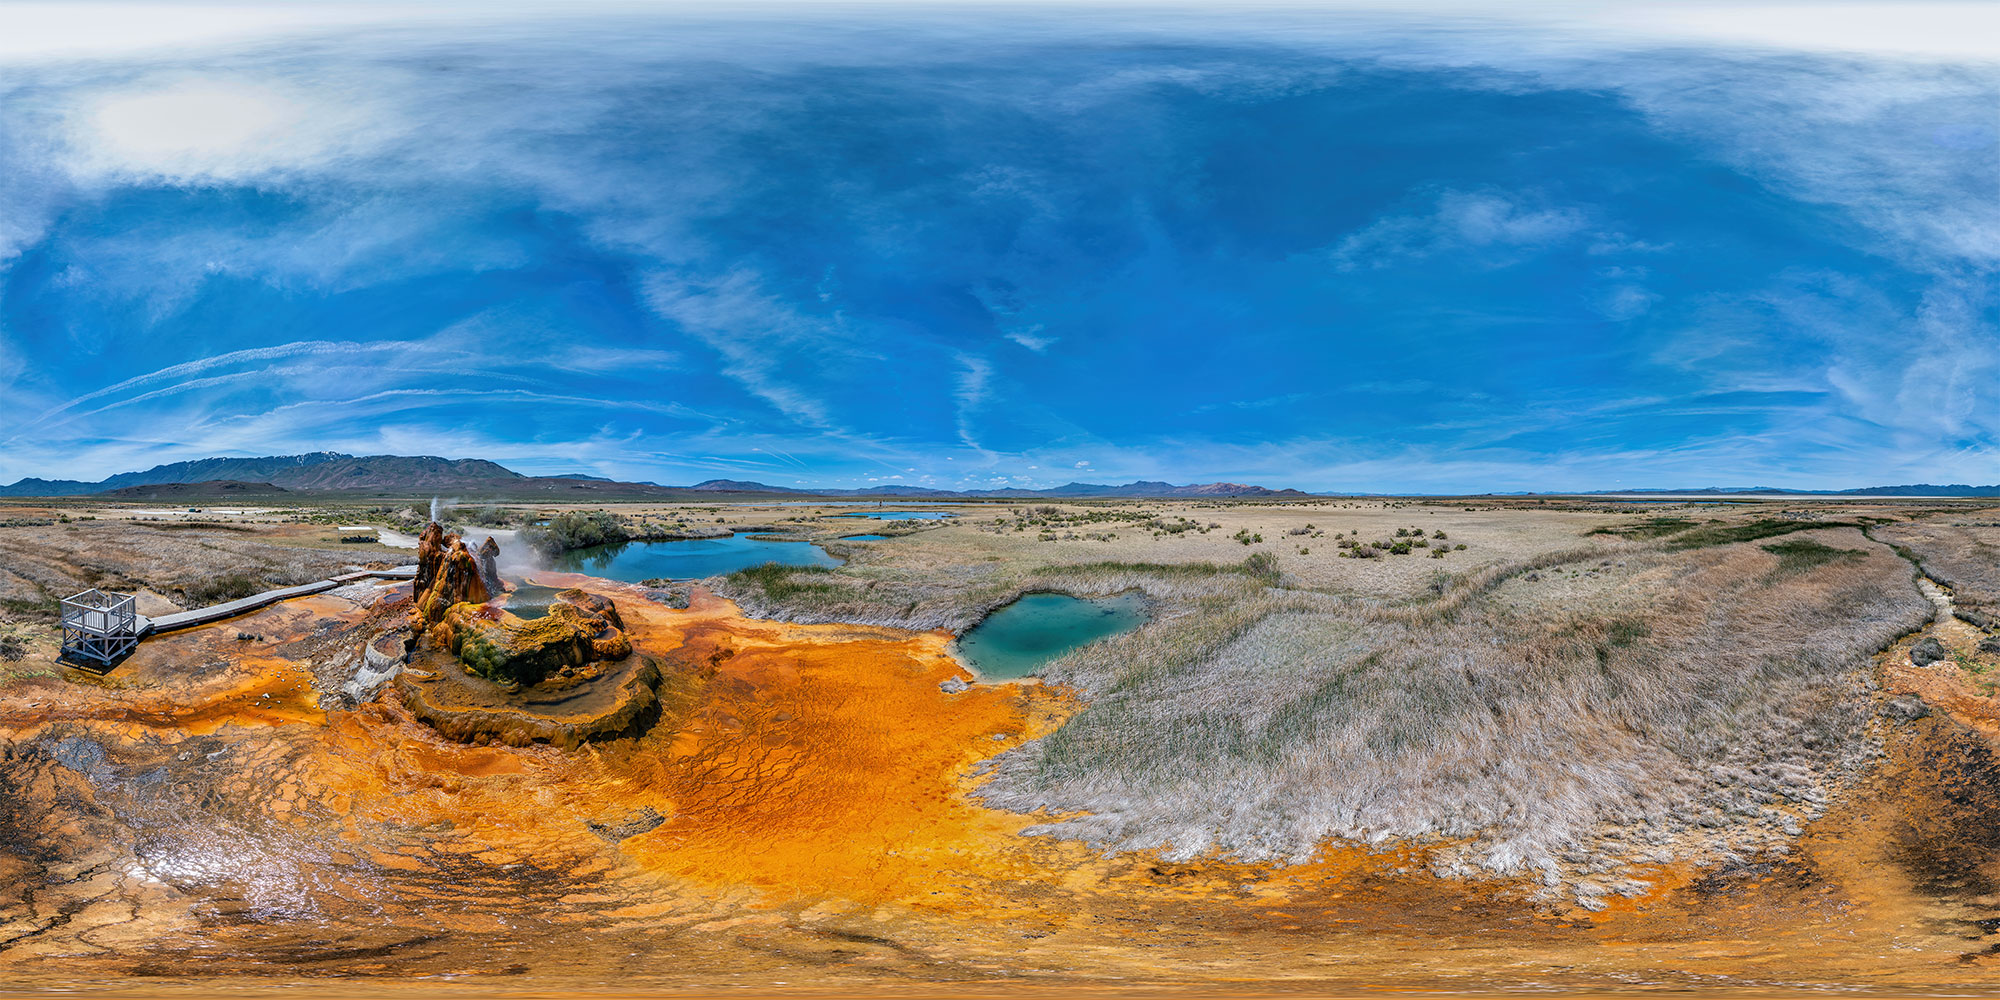
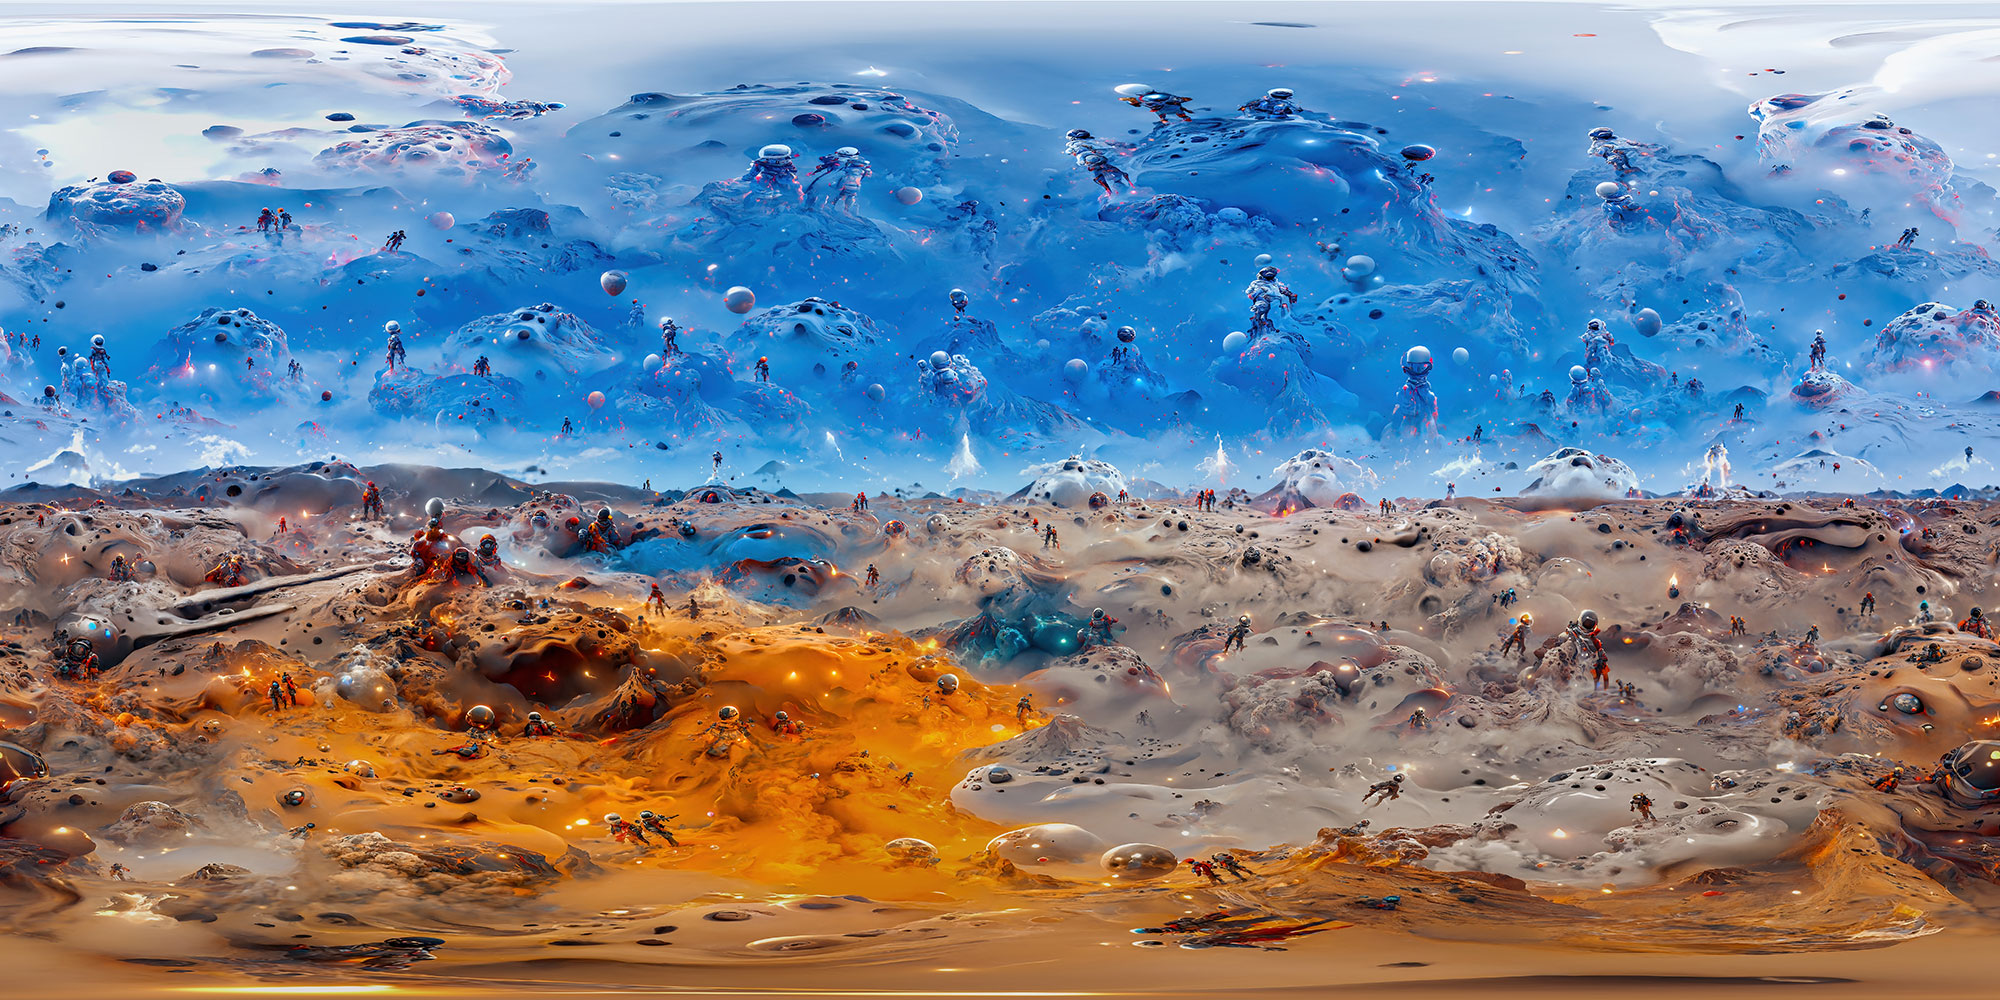
Fly Geyser Disco Diffusion Before and After
I highly recommend you view this tour on your desktop, small mobile devices just don’t do it justice. Or if you have a VR headset you can view the tour as well for a fully immersive 360 experience.
Click here to see the full tour in another tab (best experience)
Fly Ranch Tour
If you like this content please check out the full Fly Ranch tour that I finished up earlier this year for the Burning Man organization. It’s a complete tour of the property and all the cool amazing things happening there. Visit the Fly Ranch Tour here.

