I’m sure by now you have probably tested out the symmetry option in Disco Diffusion, however if not I would like to break down my experiences with this new option and show some examples that I was able to create.
Symmetry in Disco Diffusion was official released with build 5.3 and as of this time or writing we are currently at 5.4 which some new advanced features I will be covering soon.
v5.3 Update: Jun 10th 2022 – nshepperd, huemin, cut_pow
- Horizontal and Vertical symmetry
- Addition of ViT-L/14@336px model (requires high VRAM)
So what is Disco Diffusion Symmetry?
The basic principle about the % is following: you are doing the diffusion process in the specified number of steps. So what you can do is explicitly enforce symmetry after any step by mere copying and reflecting top left corner of the image into three other parts (in case of both horizontal and vertical symmetry). Then this symmetrical image is passed into the next steps and everything works as always: DD extracts cuts from image, calculates clip loss, does backward diffusion etc…
so if you enforce the symmetry on the very first steps, only the major structure will be symmetrical but fine details such as textures will be different for left and right part of the image but if you also enforce it on the last steps, you will get nearly perfectly symmetrical output
cut_pow
However symmetry is just the ability to mirror across vertical, horizontal or both but in Disco Diffusion if you leave the transformation % low it creates a bit of difference across the symmetry, vs just like a pure mirror of the image. Below are various settings and examples of this process along with my prompt used so you can play along.
How do I get started?
So with the current version of symmetry in DD you only have 3 options which can be found under the Extra Settings – Transformation Settings, section of the notebook.
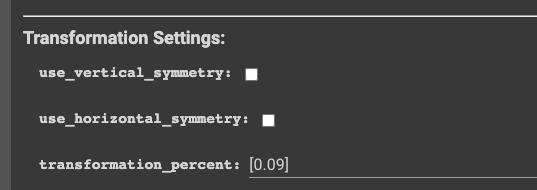
Let’s start out with both options checked and keeping the % at its default.
Symmetry Tests
Prompt: Detailed neon portal to another universe, Aztec Ruins in the jungle by Tyler Edlin trending on Artstation ultra HD, Unreal Engine
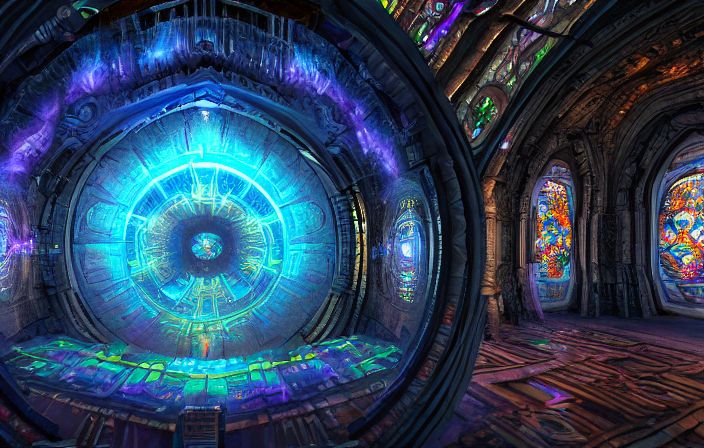
I usually run 2-10 batches and see which one I like, however I’ll share with you the 2 that where generated with the prompt above. As you can see its not true symmetry which we have seen in the Jax notebooks, which I like.
Examples
No Symmetry Enabled
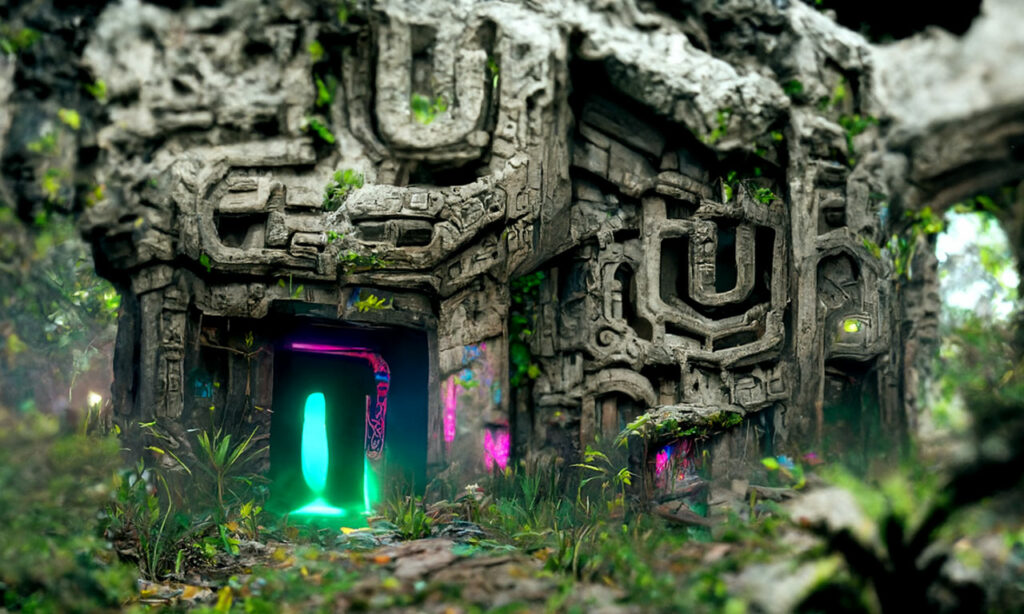
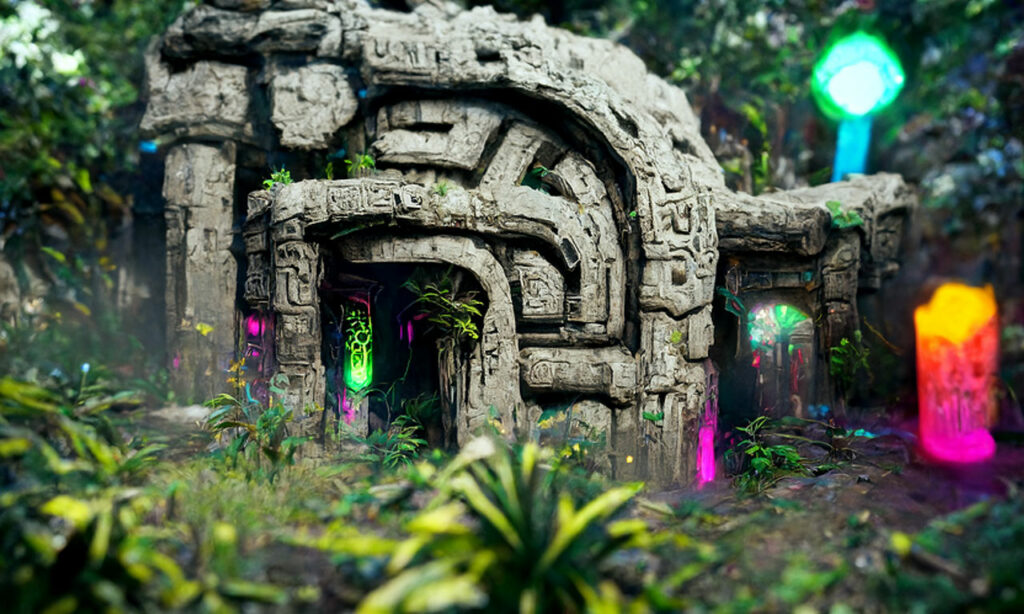
Vertical and Horizontal Enabled.
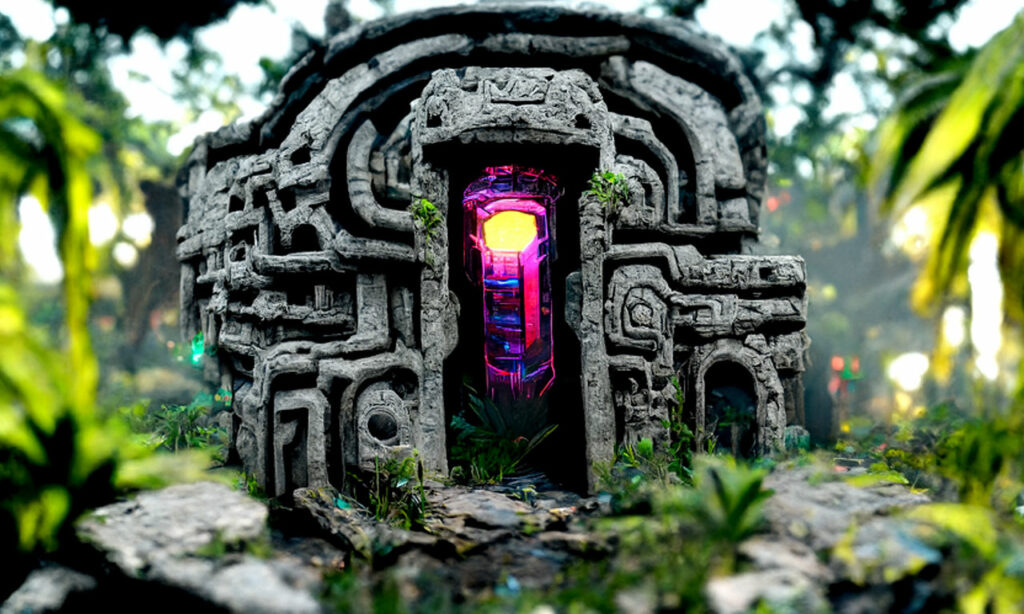
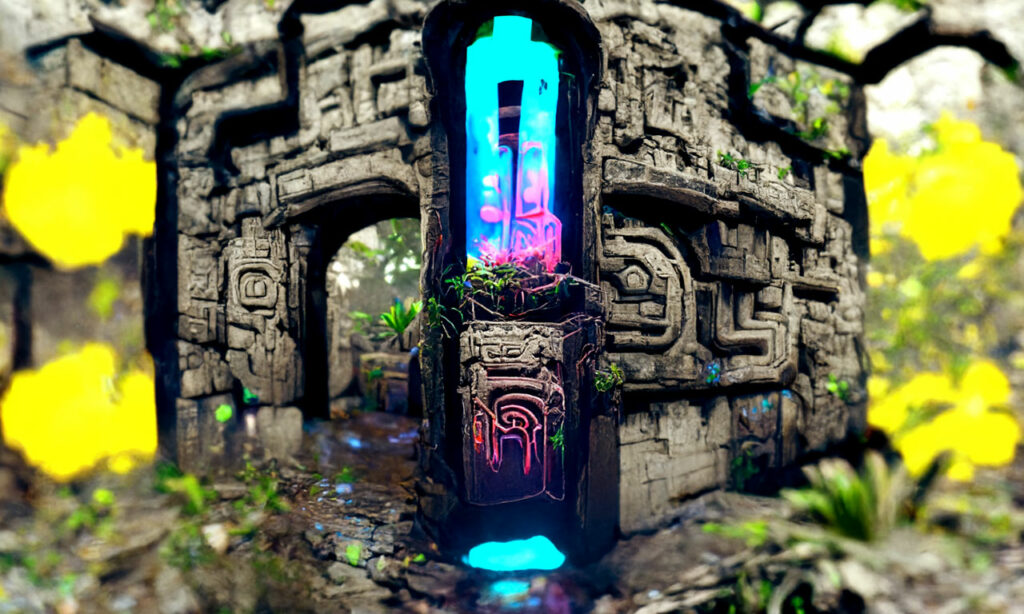
Horizontal Enabled Only
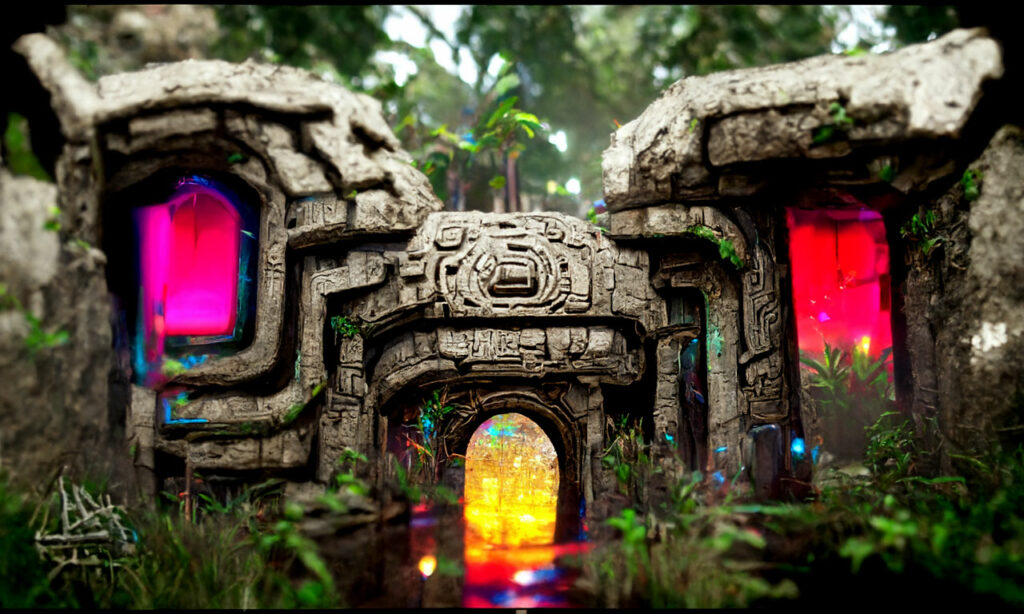
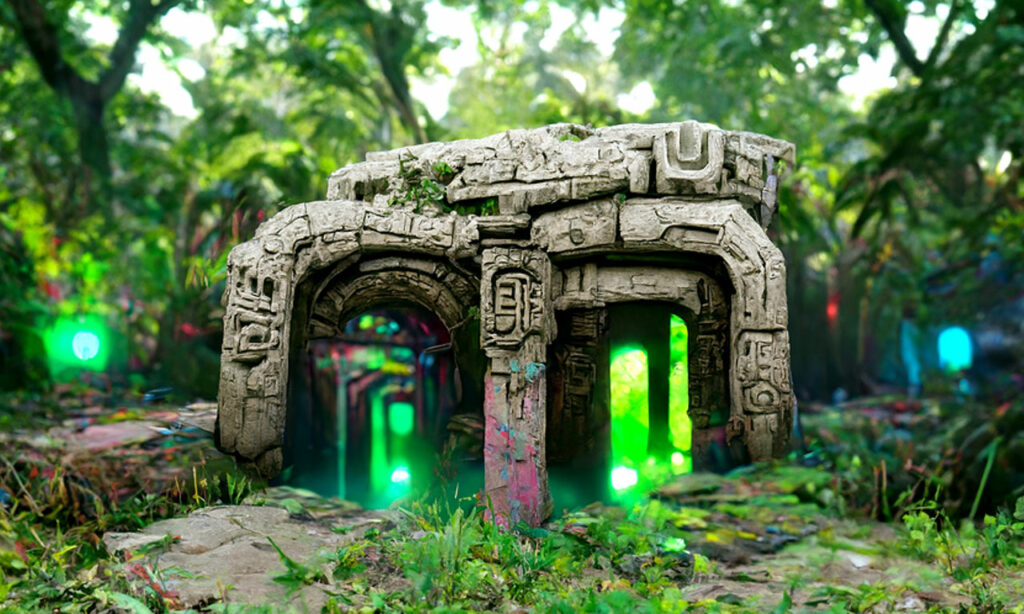
Vertical Enabled Only
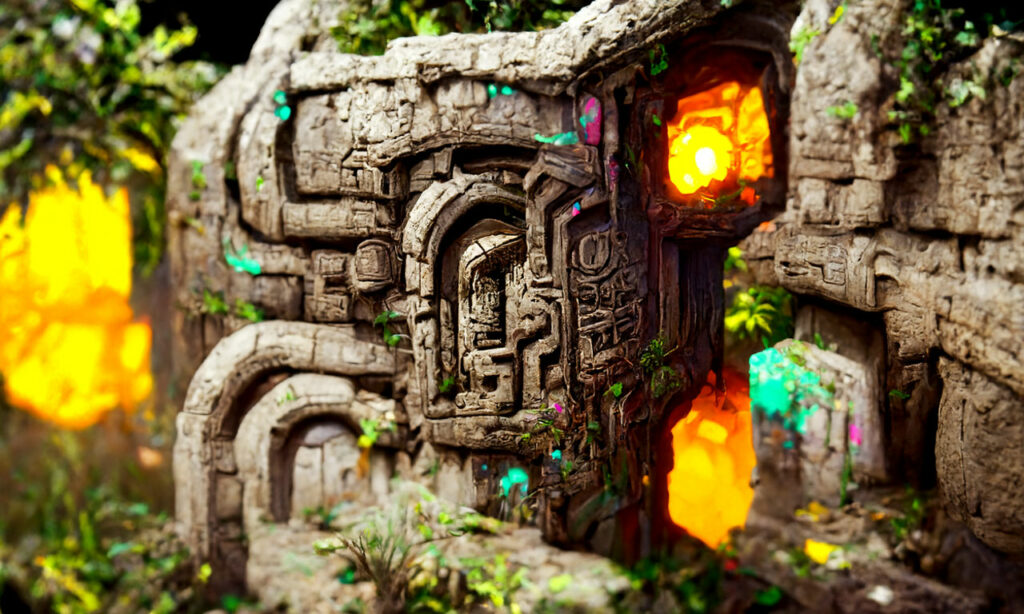
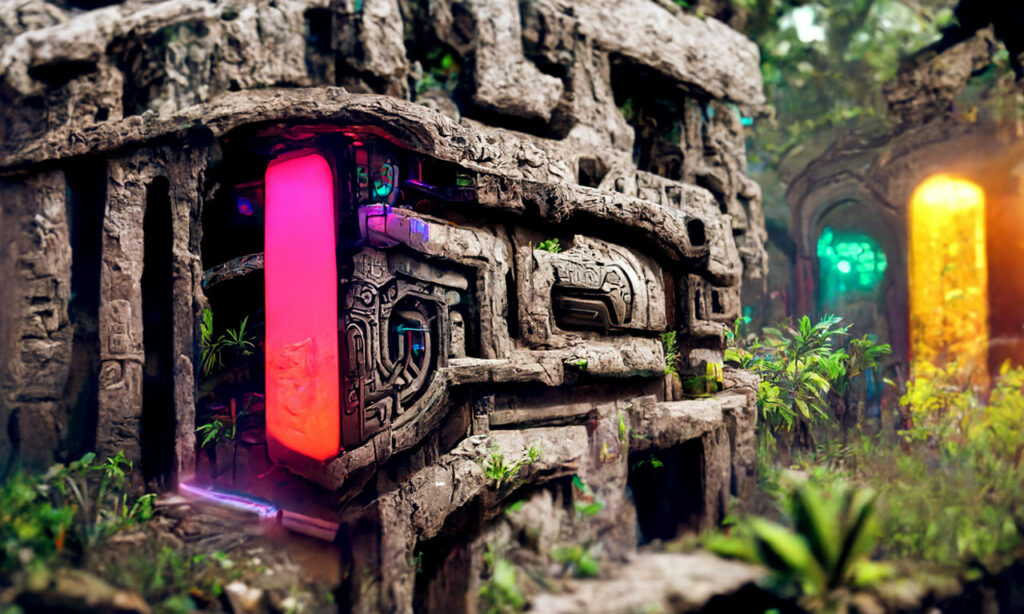
As you can see each settings produces some pretty cool results, so I encourage you to play around with each settings.
Transformation Precent
As far as changes to transformation_percent you can see some of the results below.
The higher the value the more symmetrical things get.
Horizontal and Vertical with .5 percent
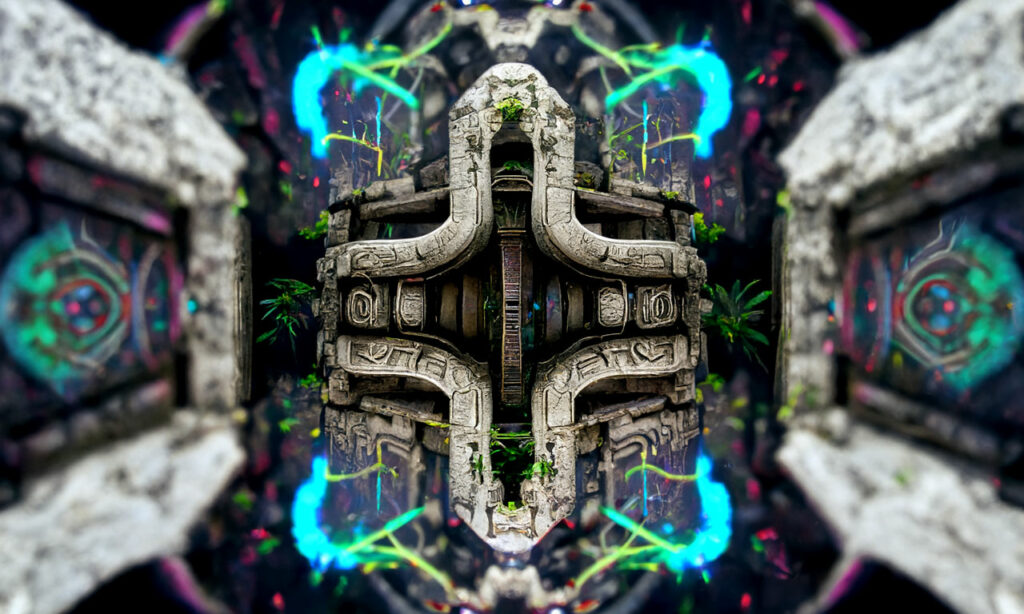
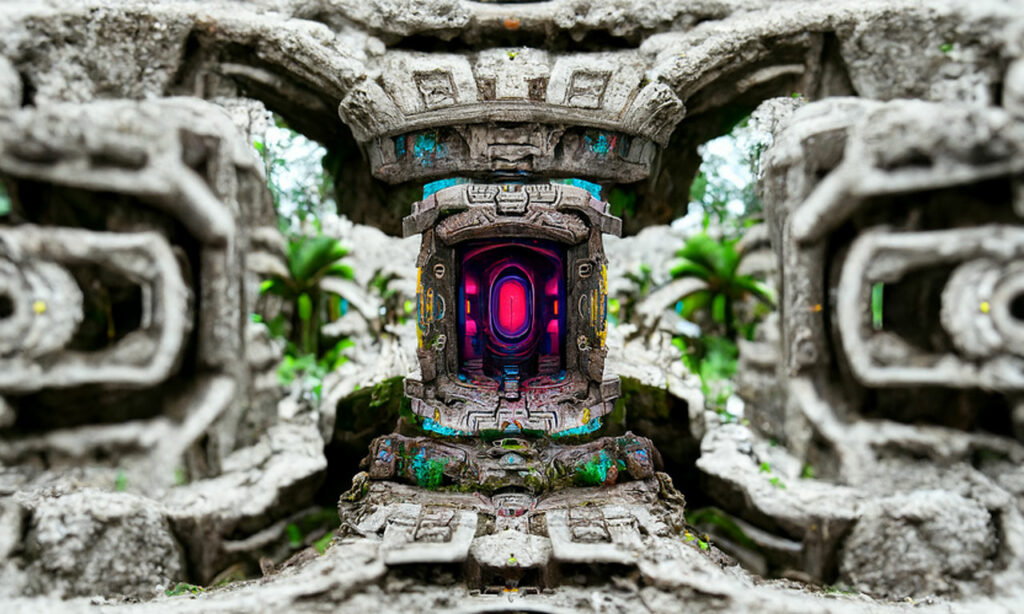
Horizontal and Vertical with 1 precent
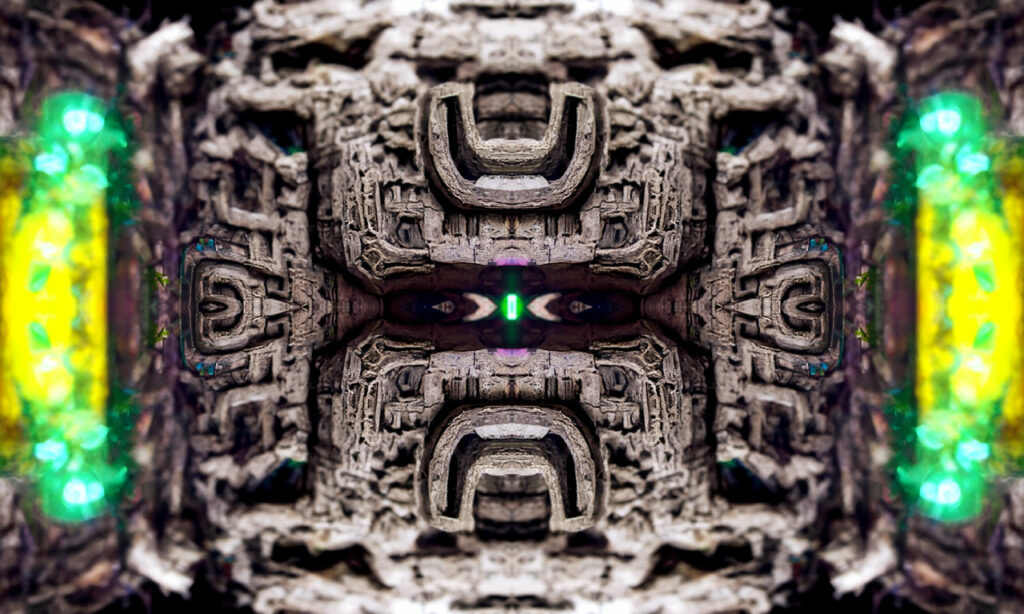
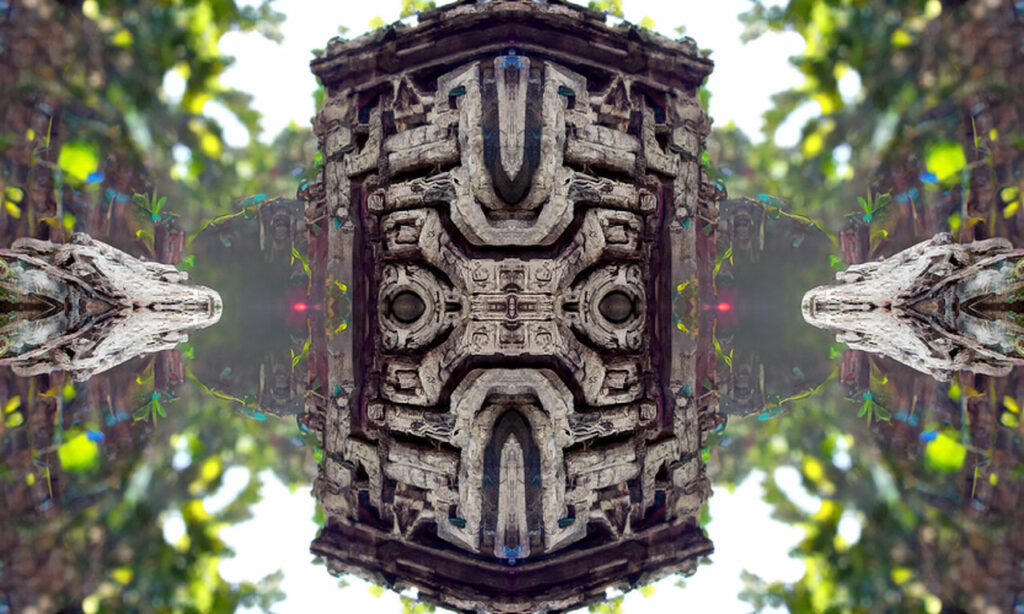
As you can see playing around with this value can also create very unique but a lot more symmetrical results. I love the default settings which gives you some symmetry but with just enough change on each side to make it more unique.

