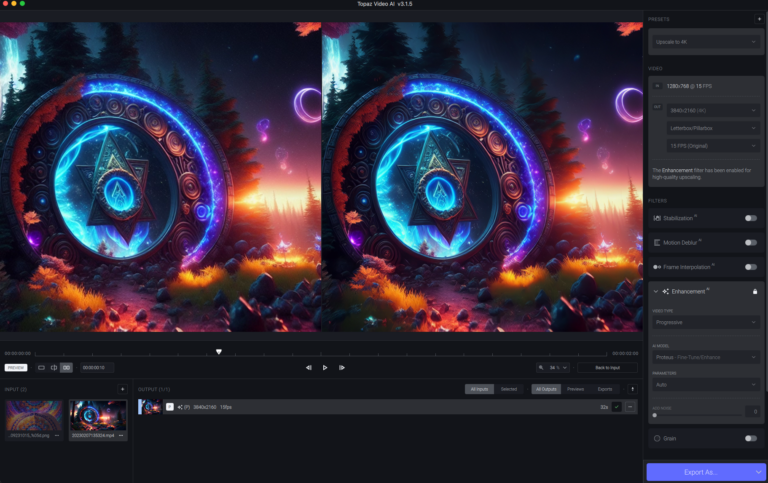
If you haven’t tested out the Huemin Adaptation of the Jax (HJax) notebook with AS (Automatic Stitching) yet you should. At the time of this writing the current version is 2.7 (June 6th, 2022) with the following information in the change log.
Notebook Link: https://bit.ly/3xJ7IWc
Follow Huemin on Twitter.
Change Log (last updated 2022.06.03)
- automated stitching
- masked mse (inpainting)
- noise injects
- vitl14 336px
- updated as_cutout_image() to remove gray borders
- fixed print_time_remaining()
- changed run loop to fix resume_stitching and init errors
- added display_init
Automated Stitching (AS)
— Huemin
Is a method for piecing together diffusion renders into larger images
A larger target image is selected and divided into a grid of smaller images (edited)
Each smaller image is loaded into the notebook as an initial image
We perform clip guided diffusion on each initial image (like normal) and stitch the result back into the larger target image.In the end we are left with a stitched image that is larger in size than what is normally possible with low VRAM GPUs
So what does all that mean? Well I’ll try to explain it in terms that I understand and I think after reading this article and doing a few tests yourself you should have some understanding of it.
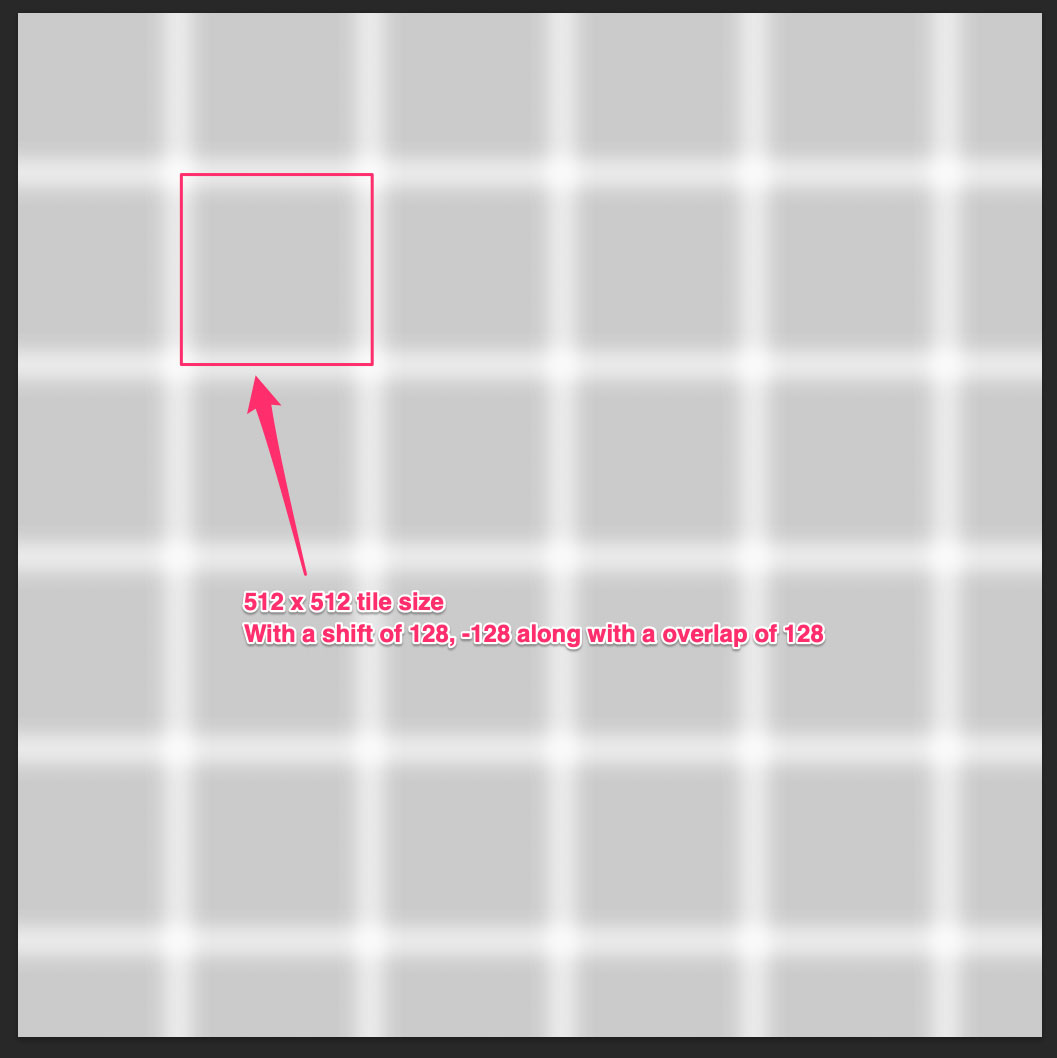
The idea is to pick a small tile size that gets overlaid (diffused as an init image) in passes over the original image size that you choose.
So let’s say your final image render is 2048 x 2048 (square) and inside those dimensions you want 512×512 tiles that will be stitched (diffused) in a defined pattern (more details on that) to create an image.
Visually it would look like this.. each white tile represents the 512×512 blocks inside the 2048 x 2048 image you will also noticed that this is done twice which is defined by as_n_pass value of 2
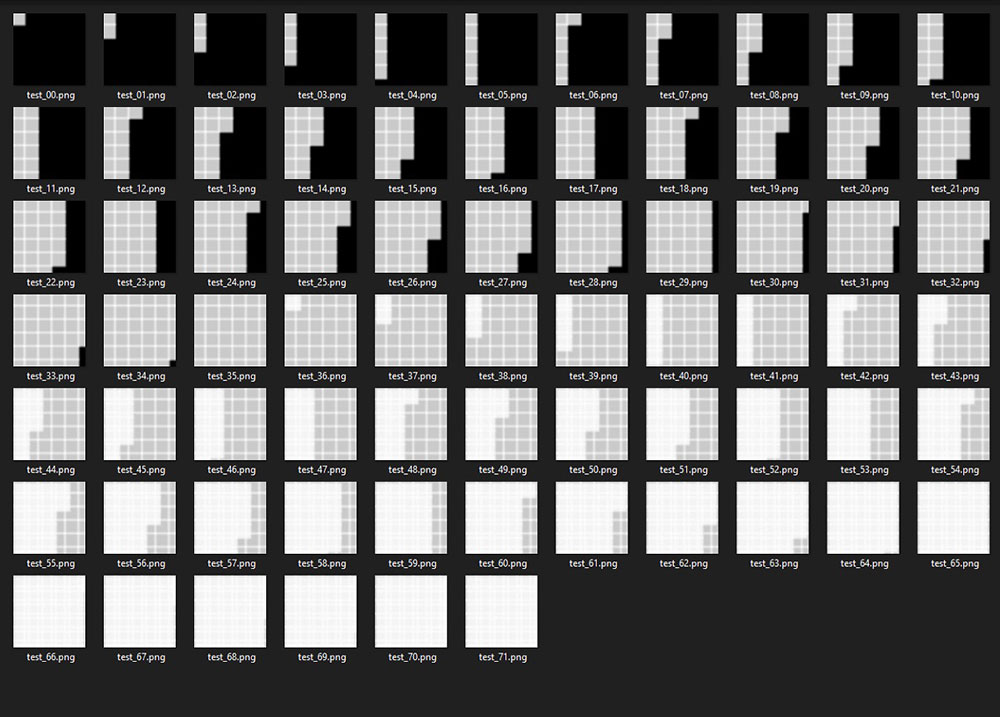
So at Frame 35 in the above image the first pass of tiles have been established, then since we have defined 2 passes another pass of the same settings happens over the top.
So each one of these 512 x 512 tiles are used as the init image that along with your as_init_path init image gets diffused.
Btw I should say this only works well if you use an init image in the stitching section otherwise your image will turn out quite grey with little diffusion going on.
The notebook has a section that you can visualize the above tile/grid pattern that you define based upon your tile/grid settings and final output image resolution under the Test Automated Stitching section.
Ok lets get this party going!
So I think the best way to get you started is for me to share my settings and init image that you can play with to render out your own and then use that as a spring board to test out many things.
One thing to understand and this goes with each notebook try not to get to into the weeds right out of the gate and only change a few settings that you know and slowly branch out into the experimental phases.
Basic Settings
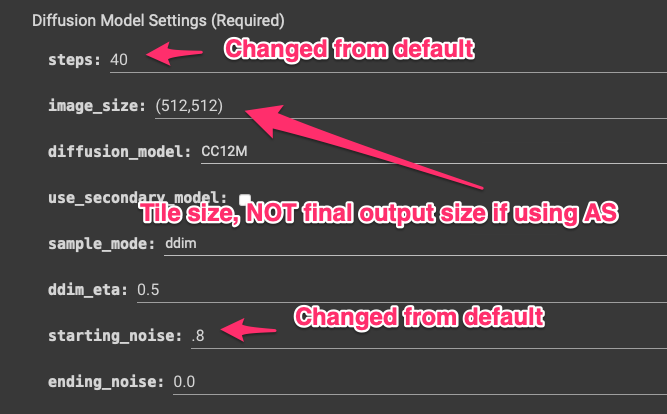
Let’s start out at the top of the notebook with the first set of settings that I changed.
Under all_prompts use this or do some slight modification’s
Alien Shaman with psychedelic mushroom, Dark Neon colored Universe, cosmic entities by Tyler Edlin trending on artstation HD | white:-1 | text:-1
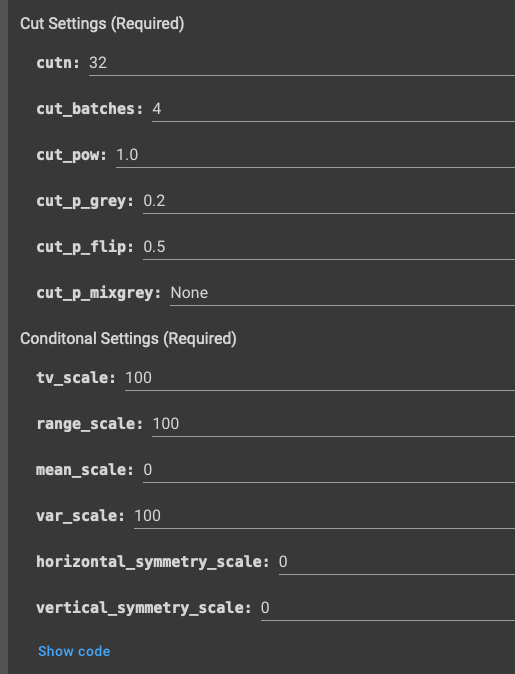
More Settings Section
So don’t get to hung up in this area of the notebook right out of the gate the ONLY thing we will be touching is enabling use_automated_stitching check and then the settings below.
First we are going to start with this init image that I found (sorry I cant recall the original artist)
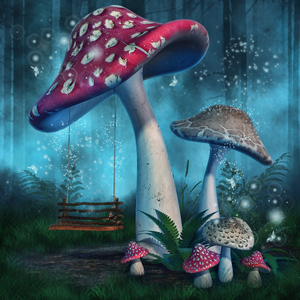
Please note that the notebook has 2 sections for init images we will use this image init section ONLY.
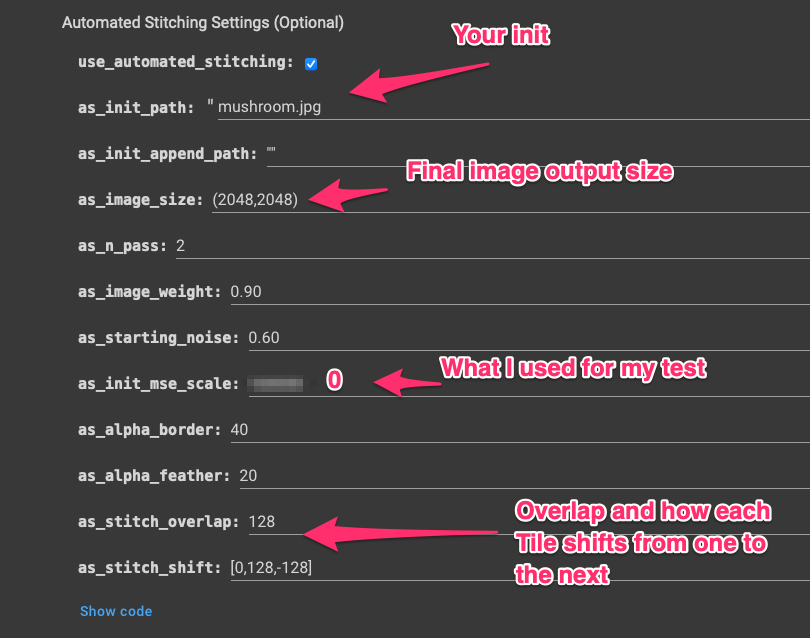
One thing to consider is the number of passes to do, if you want to do a quick test I would lower the final output size lets say to 1024×1024 and as_n_pass to 1 because very additional pass can take quite a bit of time depending on your gpu.
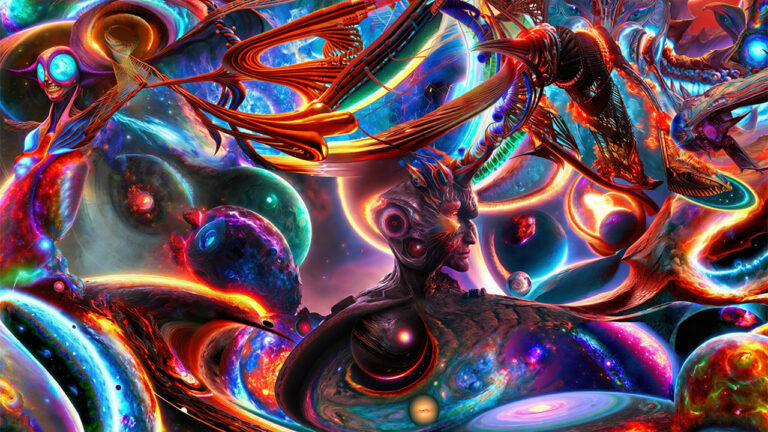
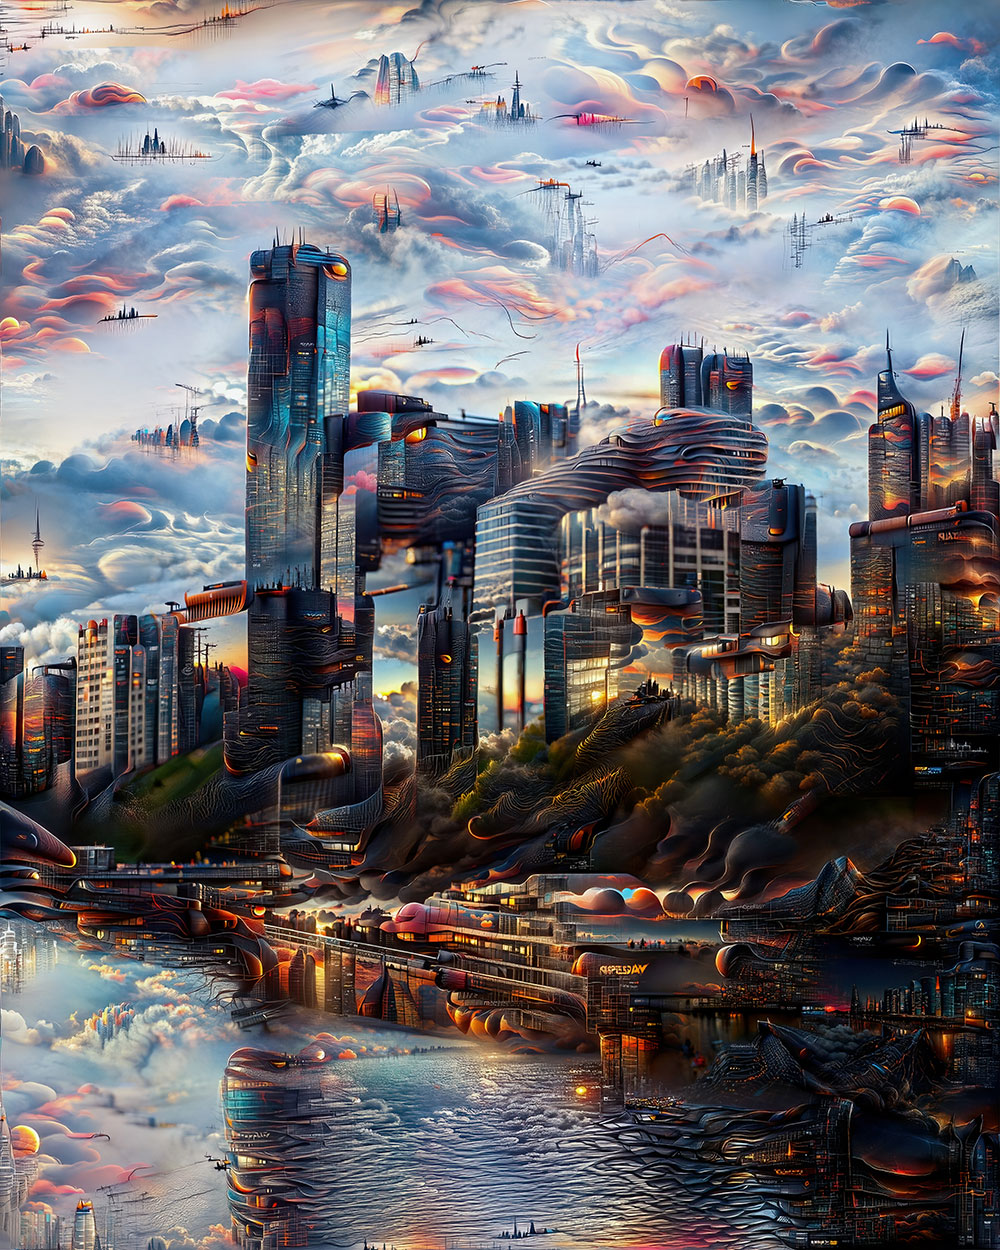
Before and After from the Init image used.


Below is my output from Pass 1 and Pass 2.
Pass 1
Pass 2
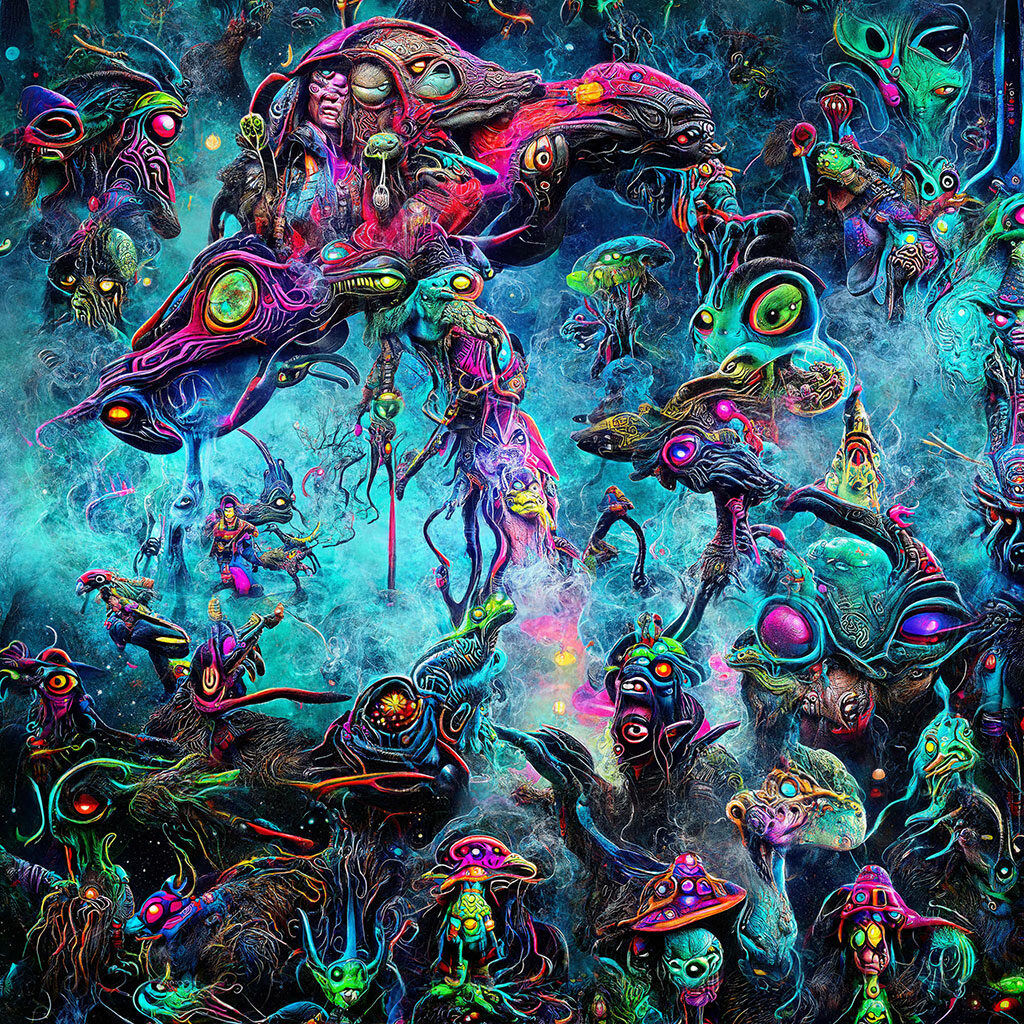
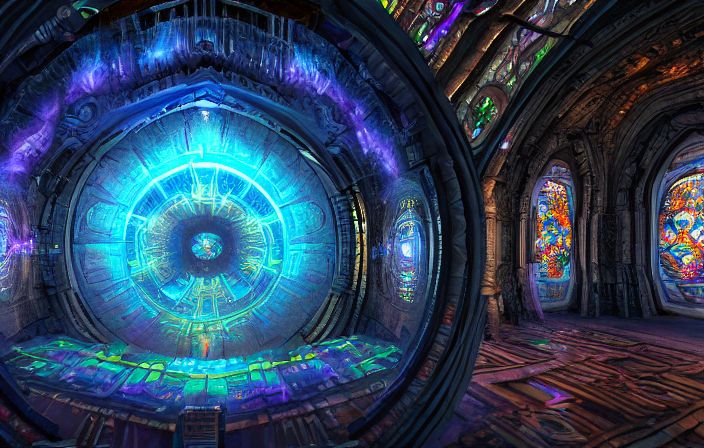
Here is a before and after slide from Pass 1 on the left and pass 2 on the right.

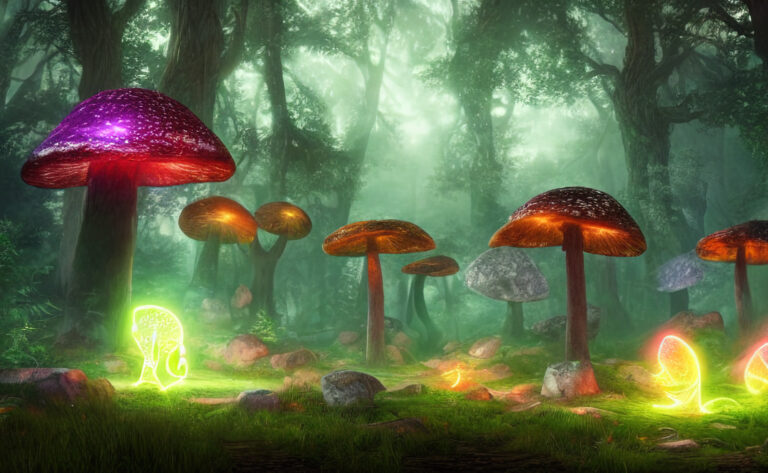
Another Example
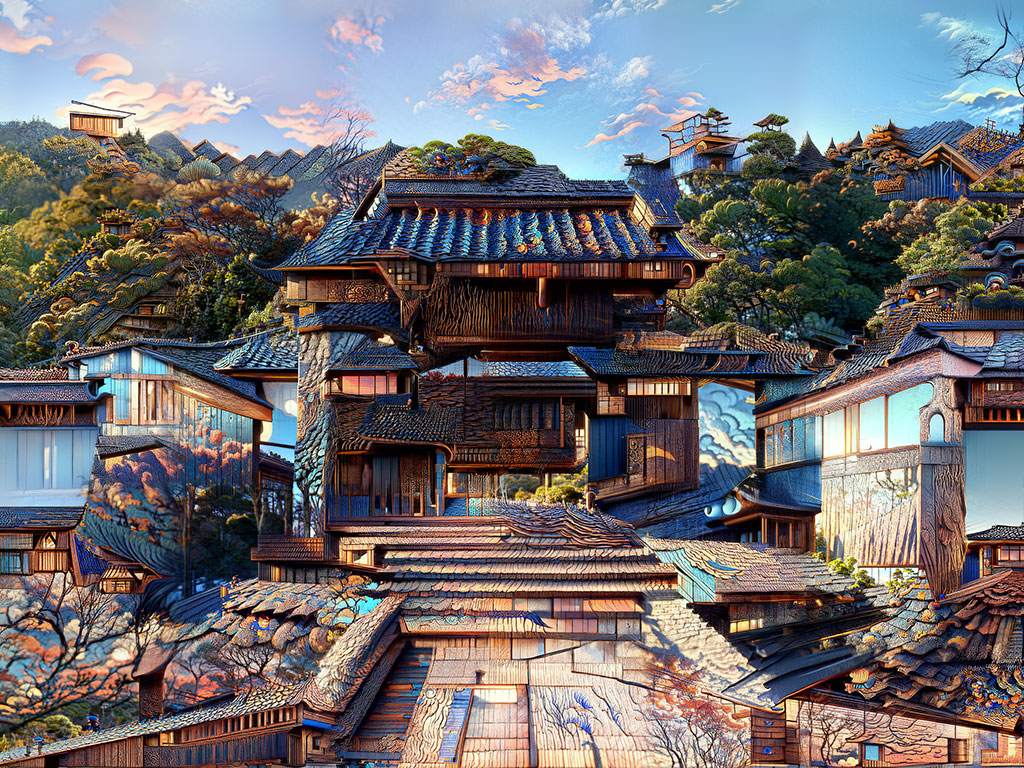
If you happen to create some unique pieces feel free to tag me (DreamingComputr) and Huemin (huemin_art) on Twitter.
An additional BIG credit goes to nshepperd for making this all possible!