Journey through the fabrics of time and psychedelics – Mural
Recently I have been playing around with the various cool new applications coming out from the community that uses the stable diffusion. Almost every day something new and cool gets released and its frankly hard to keep up these days. I recently ran across Stable Diffusion Infinity Twitter user Lnyan . Back in October he released this cool new infinity canvas out-painting application and I have a love for being able to build upon my prompts and expand that out to as far as I can to build a unique scene that can tell a story and I wanted to share some of my images, thoughts tricks and tips on using this.
Github Link: Stable Diffusion Infinity
Online Demo: Hugging Face
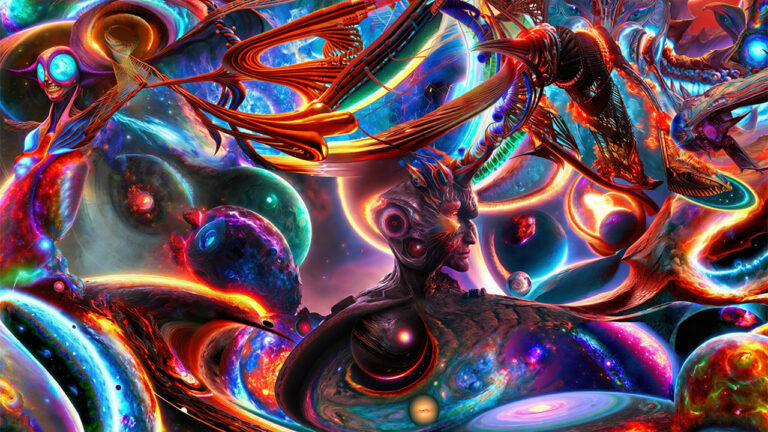
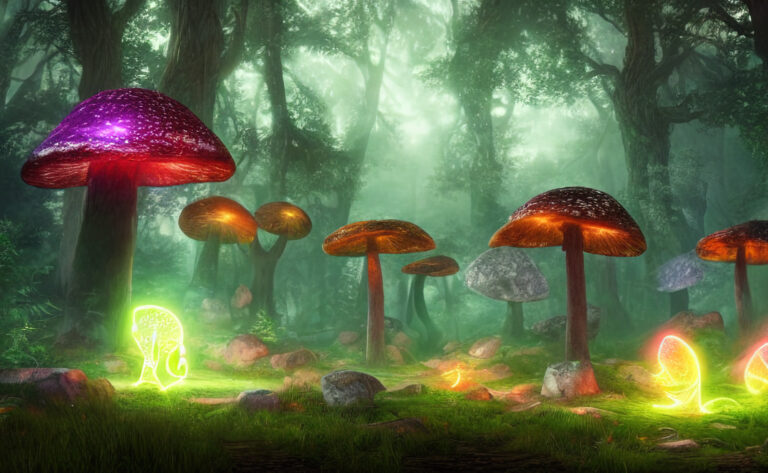
I thought I would try to create a mural that tells a bit of a story but my first few attempts came out not as I expected, however it gave me a bit more insight on how to best use this tool. My idea was to try to create a bit of a psychedelic trip that starts from the bottom with the creation of the universe all the way through the introduction of magic mushrooms to the fabric’s time and space. While it didn’t quite turn out into what I wanted I thought I would write a bit about my process.
Below is the full mural that you can zoom around in, I suggest you hit full screen and just explore the creation. The final output resolution of Image is 3,280 x 12,806 which is roughly the equivalent of 34 inches by 133 inches as a PPI value of 96 pixels per inch.
I also created a scrolling video on Youtube which has AI generated audio from sections of the images in this mural. Each AI generated clip is only 30 seconds long, so I blended in a few clips from the audio created from the images on this mural.
Below is the basic interface of SD Infinity, and a short tutorial on how to get up and running.
The interface is a bit straight forward once you have it set up but here are some pointers to get you going with your first prompt. I hope to do a video tutorial about this soon, so stay tuned to this website and our social media.
To get started enter a prompt you want to expand upon in the direction or left, right, up or down.
If you want quicker results I suggest reducing the steps at first, this will depend on the gpu you have access to. Also as a quick tip I sometimes change Sampler number to 2 or 3 (takes longer to render) but once done I can select which image I want for the box.
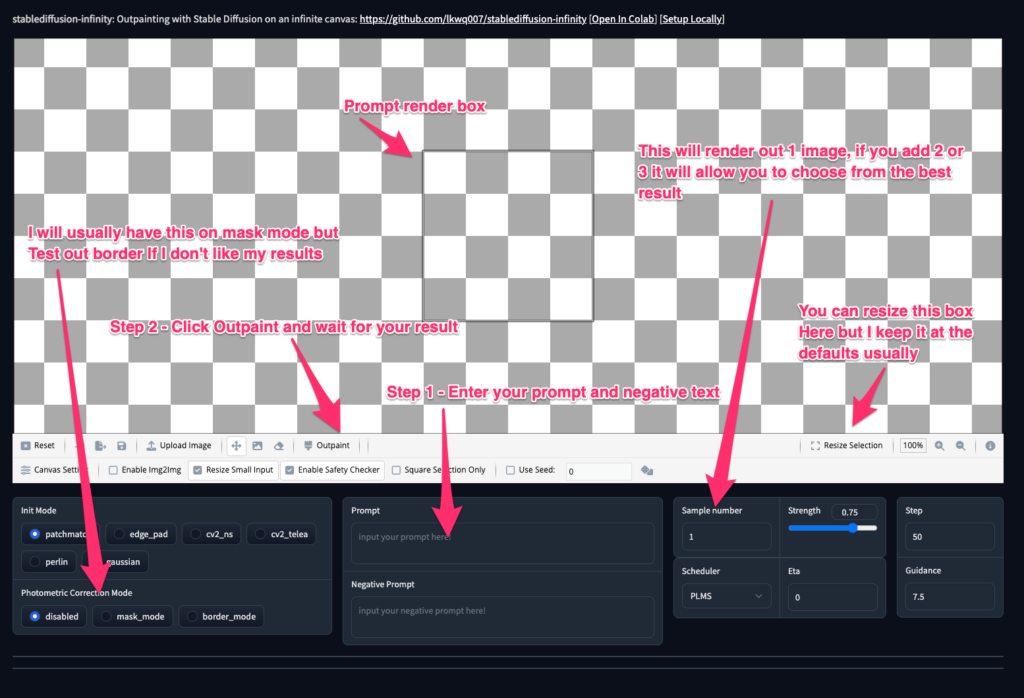
The basic idea is to render out your prompts, move the box around, render the box again or tweak your prompt and render out the box, and slowly build upon that theme or look and feel you want to establish.
For example let’s create a heaven and hell image by starting with a hell prompt at the bottom working our way up to the top.
Prompt: “repressed emotion creatures and monsters at the mouth of hell, dramatic lighting glow from giant fire, attempting to escape and start a revolution, in a dark surreal painting by ronny khalil”
-source Lexica
Use this prompt at the bottom of your screen and move the box to the left or right, I tend to overlap the box on the image a bit, sometimes if it’s separated from the image it creates different results.
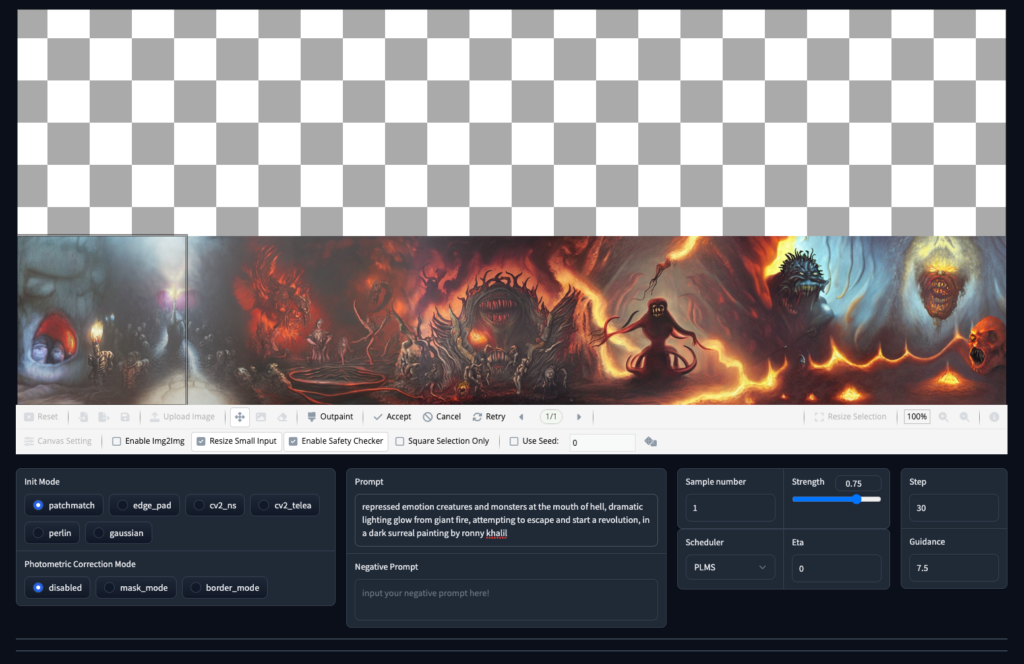
Overlay your box somewhere in the middle and change the prompt a bit to reflect demons escaping hell, and go across to fill in the canvas, while finally after that is done maybe change the prompt to demons meeting angels in heaven. You guys get the idea, of course this can be used many ways to create your infinity canvas. I prefer to start at the bottom and build up but experiment around. It can be a bit addicting.
If you come up with something cool tag me on Twitter or Instagram
For “Journey through the fabrics of time and psychedelics” I would say I spent around 5-6 hours creating it, then another 1-2 cleaning up the seams that I found with Affinity Photo’s inpainting brush. If you don’t zoom in too far you may not notice the seams but I’m a bit of a perfectionist.
Hopefully this gets you started on your journey of creating amazing murals!

